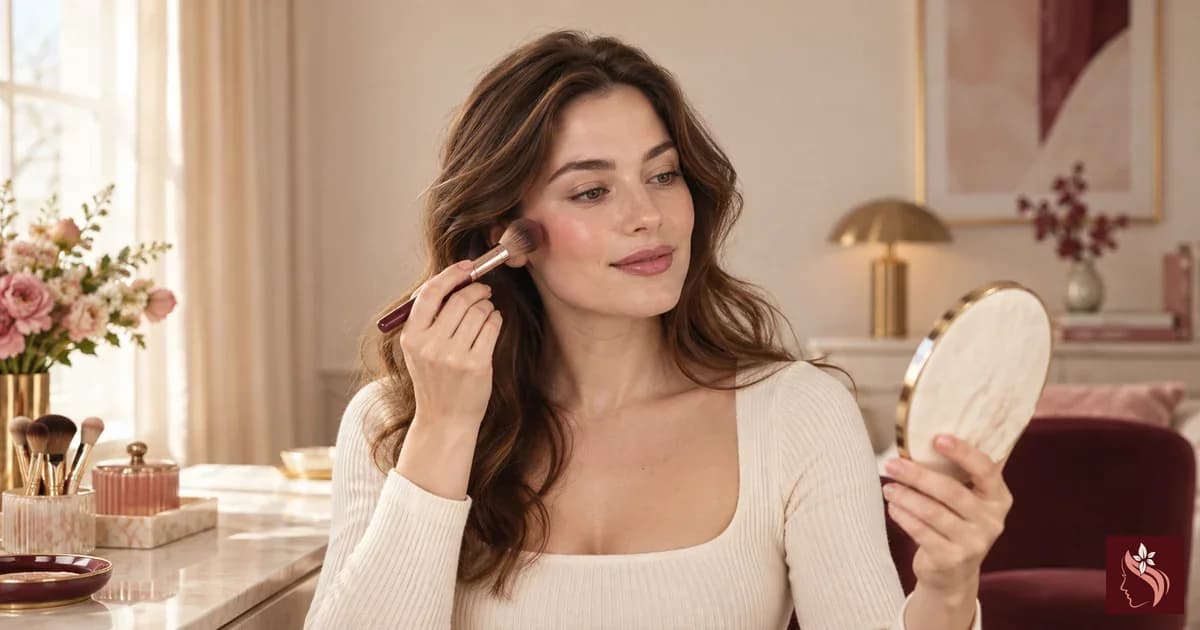
Before you start: choose the look you want
A beginner makeup routine does not need to begin with a full bag of products or a long list of rules. Start with one question: what would make you feel finished today? You might want a little evenness, a brighter-looking cheek, groomed brows, a defined lash line, or simply a comfortable lip color. That answer gives you a stopping point. Makeup is adjustable, and every step in this guide is optional unless a product label or a clinician’s instructions say otherwise.
The order below moves from skin preparation to complexion, eyes, cheeks, and lips because it is easy to remember and leaves room to change course. It is a practical sequence, not a universal law. If a step smudges, feels uncomfortable, or does not suit your style, skip it or try a different technique next time. A short routine can be complete. A longer routine can still be simple if each step has a purpose.
For the first few tries, work in steady daylight or in the lighting where you will actually wear the look. Keep a mirror at a comfortable distance, use clean hands, and start with a small amount. You can add more; taking off a heavy layer may mean redoing the steps beneath it. The goal is to learn how each product behaves on your face, not to copy a filter, a trend, or another person’s features.
Step 1: prepare your skin and let skincare settle
Begin with clean, dry hands and the skin-care steps you already tolerate. If you use a prescribed medicine or a treatment from a clinician, follow that professional’s instructions rather than rearranging it to fit a makeup tutorial. For a basic daytime sequence, the American Academy of Dermatology describes cleansing, applying any medication or treatment, then moisturizer and/or sunscreen, followed by makeup if desired. You do not need to add a new serum, primer, or face mask just because a routine video includes one.
When sun protection is part of your day, treat sunscreen as its own step. Follow the exact product label for amount, timing, and reapplication. The AAD advises using a broad-spectrum, water-resistant sunscreen with SPF 30 or higher and applying enough; its guidance gives at least one teaspoon for the face as a practical minimum. Makeup labeled with SPF should not be assumed to replace a separate sunscreen layer unless its directions support the way you are using it. A makeup layer is usually applied in a different amount and pattern than a sunscreen label describes.
Give moisturizer and sunscreen a little time to settle before complexion makeup if that makes application easier for you. There is no single waiting time that works for every formula, so use the product directions and your own comfort as the guide. If layers pill, try fewer products, use less of each, or let the previous layer set longer. Pilling is a useful cue to adjust the amount or sequence; it is not proof that a particular skin type needs a specific primer.
Sources: American Academy of Dermatology Association — Should I apply my skin care products in a certain order?; American Academy of Dermatology Association — How to apply sunscreen
Step 2: decide whether you want complexion coverage
Complexion makeup is an option, not the required center of a routine. You can leave your skin bare, apply a sheer tint over selected areas, use foundation where you want more even-looking coverage, or work only with concealer. Product names are not perfectly consistent across brands, so read the current label and directions instead of assuming that every “skin tint,” “tinted moisturizer,” or foundation behaves the same way.
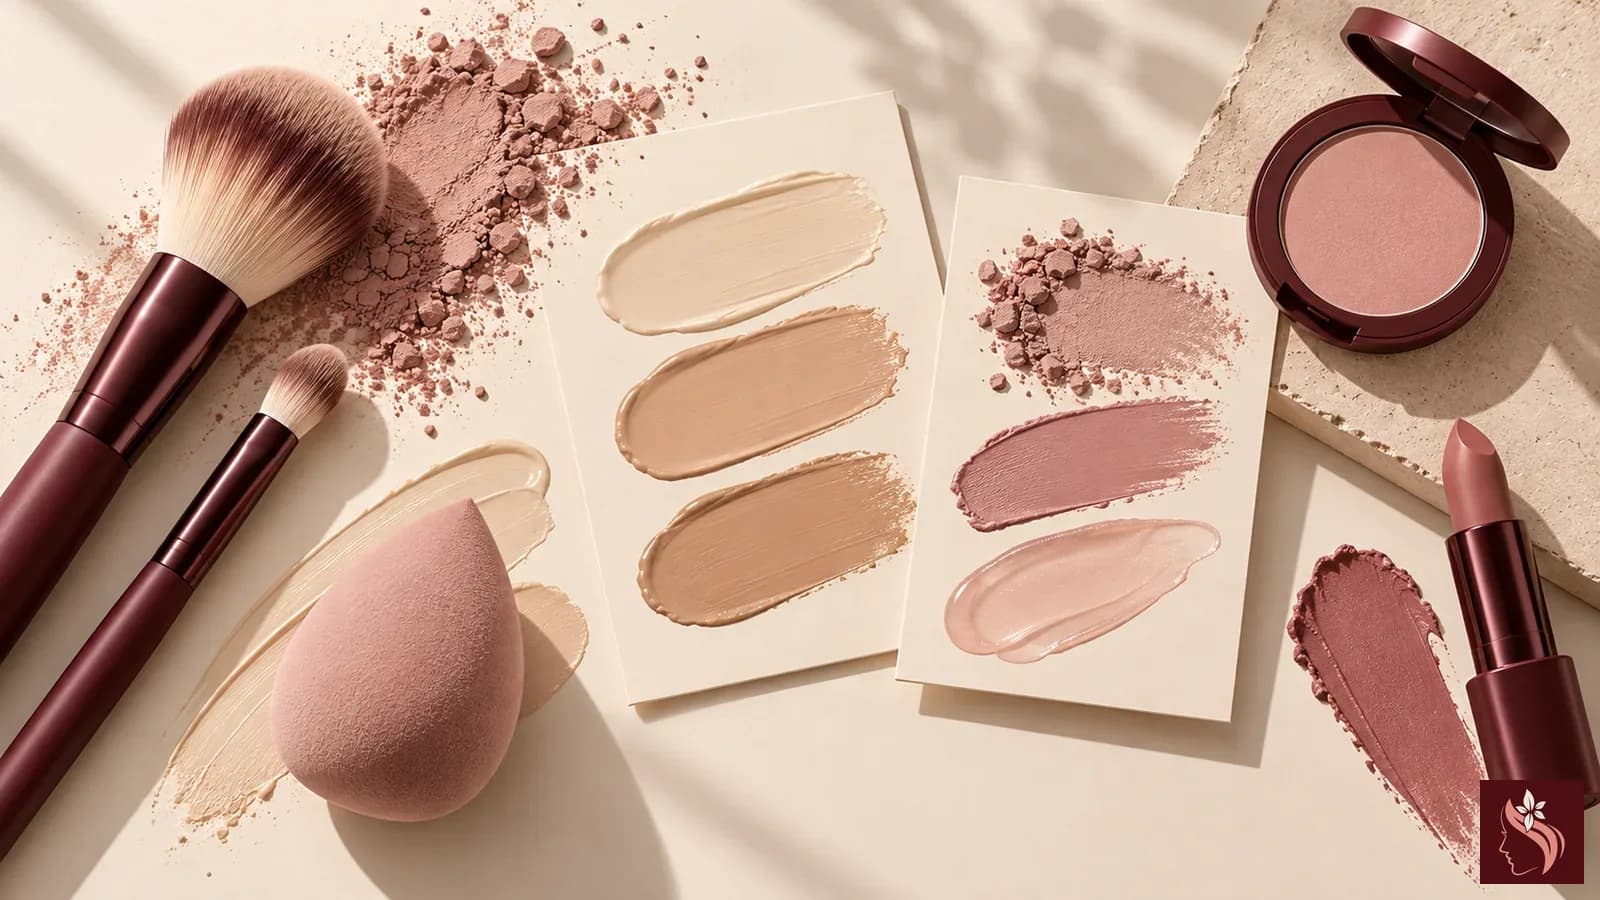
If you are choosing a shade, compare it in natural light when possible and check the brand’s current shade chart. Shade depth and undertone are different considerations, and the words a brand uses for undertones may not match another brand’s system. A swatch on your hand may not show how a product looks on your face. If a store offers clean single-use applicators, use those rather than putting a shared tester directly on your skin or near your eyes. If you cannot find a suitable shade or simply prefer not to wear base makeup, skip this step; there is no requirement to make every area look identical.
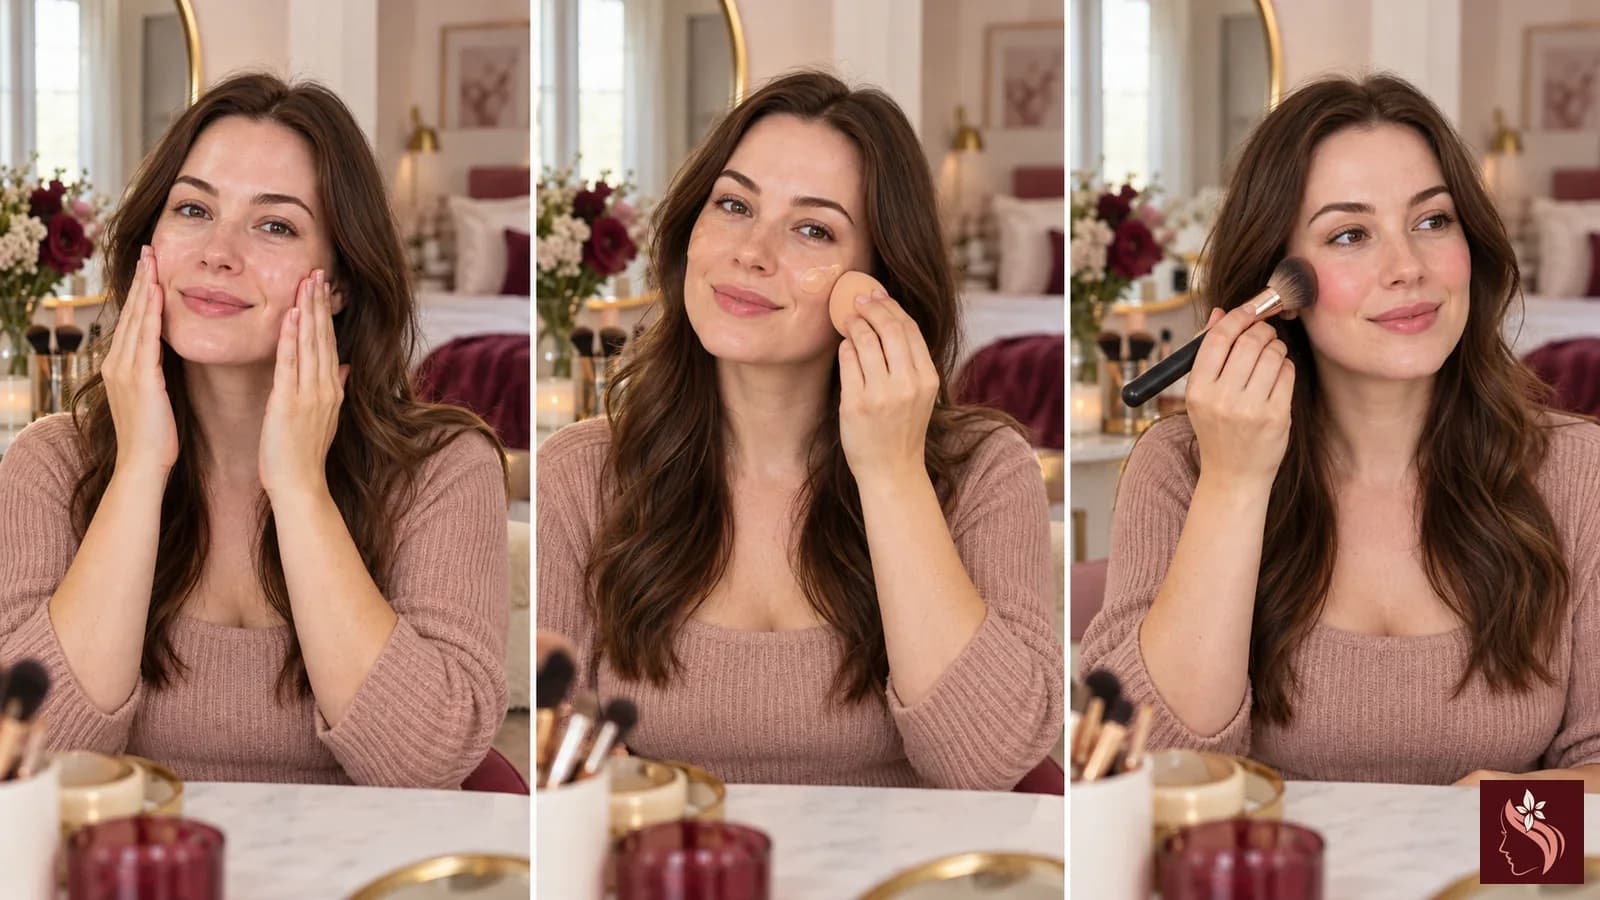
Apply a small amount to the area where you want coverage and blend the edge into nearby skin with clean fingers, a clean sponge, or a brush the product maker recommends. Build only where you want more. Use light pressure around delicate areas and check the result from a normal conversation distance, not only with your face inches from a magnifying mirror. A little natural variation in skin tone and texture is expected; it does not need to be concealed for the makeup to look intentional.
Step 3: use concealer only where you want a detail
Concealer can add targeted coverage, but it does not have to be applied under both eyes or over every mark. If you want to use it, place a small dot where you want coverage and tap the edge until it blends with the surrounding complexion product or bare skin. A fingertip, small brush, or sponge can work depending on the formula and the finish you prefer. Avoid dragging the skin simply to make the product disappear faster.
Choose a shade for the effect you want rather than relying on a rule that concealer must always be lighter. A close match can blend a small area into the surrounding skin; a lighter shade creates a visibly brighter effect. Brand names and undertone descriptions vary, so use the brand’s current guide and compare in consistent light. If the color looks separate from the rest of your face, use less, blend the border, or leave that area alone. More coverage is not automatically a better result.
Powder is also optional. If a cream product moves where you do not want it, a light layer of a compatible powder may help you set that area, but the finish can change. Try it in a small section before applying it everywhere. People with different skin tones, textures, and preferences may choose different amounts or no powder at all; none of these choices is a diagnosis of skin type or a promise about wear time.
Step 4: add brows and eye makeup at your own pace
For brows, you might brush the hairs into place, fill a sparse-looking area with a pencil or powder, or leave them alone. Use short strokes that follow the direction of the hair rather than drawing one solid block. Brow shapes naturally differ, and a product does not have to make both sides identical. If you are new to makeup, practicing one small section is easier than changing the entire shape at once.
For eyes, one soft shadow or a pencil close to the lash line can be enough. Keep products near the eye only when their labels say they are meant for that area. The FDA advises washing hands before use, not sharing eye makeup, and not adding saliva or water to mascara. It also recommends stopping use if an eye cosmetic irritates you and avoiding eye cosmetics during an eye infection or inflammation around the eye. Follow each product’s directions and discard eye makeup that may have been contaminated.
If you wear contact lenses, follow the lens-care instructions from your eye-care professional and lens manufacturer. FDA guidance says to apply cosmetics after inserting contact lenses and remove lenses before removing makeup. Apply eye products while sitting still in a well-lit place; a mascara wand or pencil is not something to use while riding in a moving car. If a product causes persistent irritation or you have a concern about an eye condition, pause the product and contact an appropriate health professional.
Sources: U.S. Food and Drug Administration — Using Cosmetics Safely; U.S. Food and Drug Administration — Eye Cosmetic Safety; U.S. Food and Drug Administration — Cosmetics Safety Q&A: Eye Cosmetic Safety; U.S. Food and Drug Administration — Everyday Eye Care
Step 5: choose cheek color and placement that feels like you
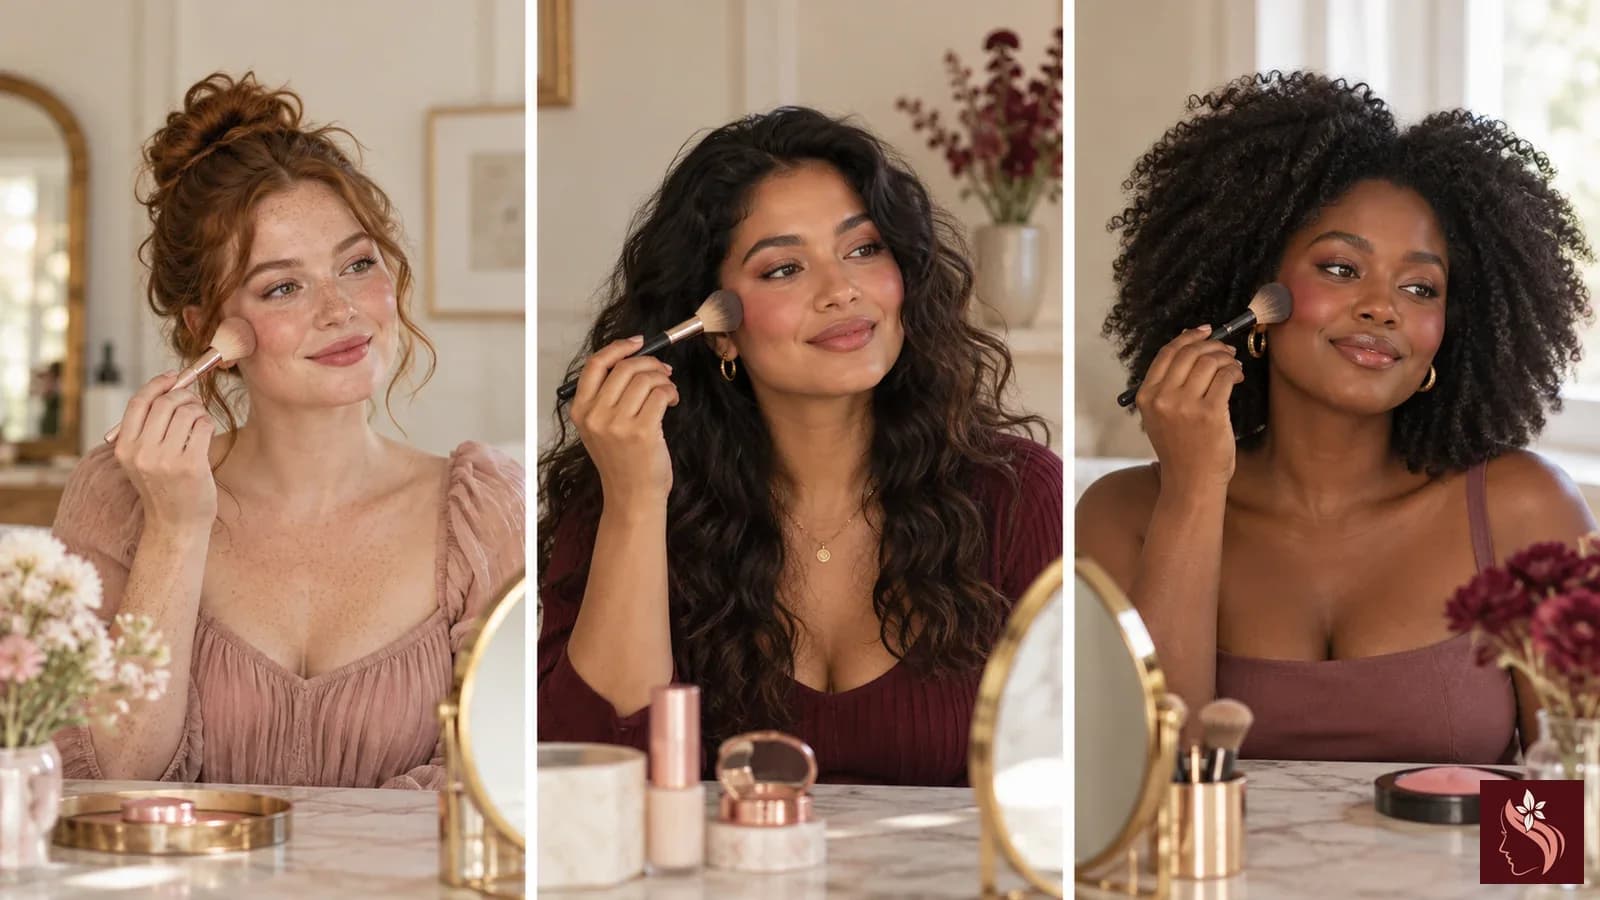
Blush can be placed wherever you like the effect. A soft sweep over the upper cheek may create a lifted look; a more centered application can feel fresh and rounded; a light layer across the bridge of the nose can connect the color. These are styling options, not corrections for face shape. The placement illustration below is a starting point across several skin tones, not a universal map or a tested result.
Cream, liquid, and powder formulas can look different and may call for different tools. Read the product directions and begin with a small amount. If using a brush, tap away loose powder before it reaches your face; if using a cream, press and blend the edge rather than rubbing repeatedly. A shade that is visible on one person may appear differently on another, so choose color by checking the exact shade on your own skin when possible. The brand’s shade imagery can help you compare, but it does not guarantee an identical result in every light or on every screen.
You can also use no blush at all. If you apply too much, soften the edge with a clean sponge or lightly pass a little of the complexion product you already used around the border. Avoid adding several new layers just to chase a precise online reference image. The useful question is whether the color looks balanced to you in the setting where you will wear it.
Step 6: finish with a lip product—or stop here
A lip balm, lipstick, gloss, or lip pencil can finish the look, but bare lips are also a complete choice. If you want color with a softer edge, tap a small amount into the center and blend outward with a clean fingertip. For a more defined finish, trace the lip line gently and fill it in. Product texture and color payoff vary by formula, so follow the label and start with less than you think you need.
Check the finished look in the light where you will be spending time. You may decide that a brow, eye, cheek, or lip step feels like too much for the day. Removing one step is a valid edit. Beginner routines work best when they are repeatable: a look you can do comfortably in a few minutes is more useful than a complicated routine that makes you feel as if you need to buy or apply more.
Tools are optional; clean handling is not
Fingers, brushes, and sponges each give a different kind of control. Fingers can make it easy to tap a small amount of cream product into place. A brush can give more targeted placement or a softer edge, depending on its shape and bristles. A sponge can press and diffuse makeup, particularly when its maker’s directions say to use it that way. You do not need a full brush set to learn a basic routine. Start with the tool you can keep clean and use comfortably.
Read each cosmetic’s directions and warnings. FDA’s general cosmetics guidance recommends washing hands before use, not sharing makeup, and keeping containers clean and tightly closed when not in use. For eye products, be especially careful not to share applicators or use a product near the eye unless it is intended for that area. If a product changes color or smell, or you see foreign material, stop using it and consult the product maker or FDA consumer guidance. Do not add water or saliva to dried mascara.
Clean reusable tools according to their manufacturers’ instructions and let them dry fully before storing them. The right cleaning interval may depend on the tool and product, so avoid repeating a one-size-fits-all schedule unless the tool maker provides it. Keep your own products separate from shared testers; if you sample in a store, ask for a fresh single-use applicator. A simple routine with clean tools is more practical than a large collection that is difficult to maintain.
Sources: U.S. Food and Drug Administration — Using Cosmetics Safely; U.S. Food and Drug Administration — Eye Cosmetic Safety
A five-minute version and a slower practice version
For a short version, prepare your skin, use your separately directed sunscreen if it is part of your daytime routine, and choose just one feature: complexion, brows, cheek color, or lips. A sheer complexion product plus lip color is one possible pairing. Brushed brows plus a little cheek color is another. The combination is yours to choose; the order does not require a specific number of steps.
For a slower version, try one unfamiliar product at a time. Note the name and shade so you can remember what you used, and observe the finish in more than one light. If you are comparing two formulas, apply them to separate areas rather than layering both on the same spot. That makes it easier to tell which texture or application method you prefer, although it is still a personal observation, not a controlled product test or a promise that the same result will occur for everyone.
Practice when you are not rushing out the door. You can try a brush on one cheek and fingers on the other, then decide which method feels easier to repeat. Keep the exercise small and reversible. If makeup looks uneven, remove it gently according to the product and remover directions, then try again another day. You do not need to keep a method that feels uncomfortable just because it is common in tutorials.
If a step does not work the way you expected
When base makeup looks patchy, first check whether the amount is too large or the layer below is still wet. Try using less and pressing it into a smaller area. If a concealer looks obvious, blend only the edge or change the shade next time. If powder emphasizes texture you would rather leave visible, skip the powder. A different result may come from lighting, application, product formula, or personal preference; it is not evidence that your skin needs treatment.
When eye makeup smudges, try applying a smaller amount, letting the previous layer set, or following the manufacturer’s guidance for that product. Avoid using a product in a new location unless the label says it is intended for that use. If an eye product stings, burns, or irritates you, stop using it; persistent symptoms deserve advice from a health professional. Do not keep layering products over discomfort.
If you have a known allergy, a skin condition, recent treatment, or clinician instructions, this general tutorial cannot tell you which products are suitable. Read the full ingredient list and warnings, and ask your clinician or pharmacist about your personal circumstances. FDA notes that the word “hypoallergenic” does not guarantee a product will not cause an allergic reaction. A label can help you identify ingredients, but it cannot predict an individual response with certainty.
Sources: U.S. Food and Drug Administration — Using Cosmetics Safely
Conclusion
A beginner makeup routine can be as small as one product or as detailed as you enjoy. Start with skin preparation, keep sunscreen separate and use it according to its label, then add optional complexion, brow, eye, cheek, and lip steps in amounts you can control. Clean hands, careful eye-area use, and reading the directions matter more than owning a particular tool or copying a fixed routine.
Try one change at a time and keep the steps that feel comfortable, useful, and like you. Leave the rest out. The most practical routine is the one you can understand, adapt, and repeat without treating normal differences in skin, features, or preference as problems to solve.
Frequently Asked Questions
What order should a beginner apply makeup in?
A simple sequence is skin preparation, optional complexion coverage, concealer if desired, brows, eyes, cheeks, and lips. The steps are flexible; follow product directions and any clinician instructions that apply to you.
Do I need primer before foundation?
No. Primer is optional. Try your complexion product over the skincare you already use, and add primer only if you want to compare a particular formula or finish.
Can makeup with SPF replace sunscreen?
Do not assume it does. Use sunscreen as a separate step when needed and follow its label for amount, timing, and reapplication. Makeup is often applied differently from the amount described in sunscreen directions.
How can I keep makeup tools and eye products clean?
Wash your hands, do not share cosmetics, keep containers clean and closed, and follow the tool and product makers’ care directions. Do not add water or saliva to mascara, and do not use eye cosmetics during an eye infection.
What makeup should I buy first?
Start with the product that serves the look you want most, such as a lip color, brow product, or one complexion item. Read its label, check the shade or directions, and add another step only if it fills a real need for your routine.
How do I adapt makeup to my skin tone?
Use current brand shade charts as a starting point, compare products in consistent natural light when possible, and choose the finish and placement you prefer. Shade depth and undertone labels vary by brand, and screen images cannot guarantee an exact match.
Sources
- American Academy of Dermatology Association — Should I apply my skin care products in a certain order? (checked 2026-10-28)
- American Academy of Dermatology Association — How to apply sunscreen (checked 2026-10-28)
- U.S. Food and Drug Administration — Using Cosmetics Safely (checked 2026-10-28)
- U.S. Food and Drug Administration — Eye Cosmetic Safety (checked 2026-10-28)
- U.S. Food and Drug Administration — Cosmetics Safety Q&A: Eye Cosmetic Safety (checked 2026-10-28)
- U.S. Food and Drug Administration — Everyday Eye Care (checked 2026-10-28)